Lightning Bolt Design Tutorial
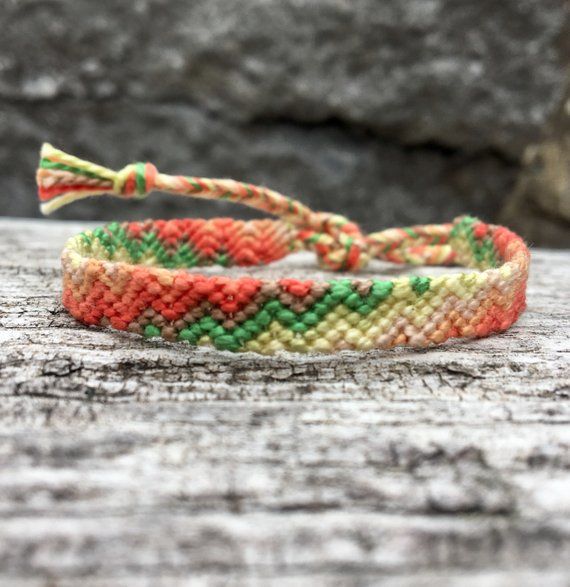
1. Pick 4 different colors. (The example uses red, orange, yellow, and white). You will need 1 strand of each color.
2. Align string, fold in half, and tie knot ½ inch from fold forming a loop.
3. Attach your ½ inch loop to MYFBM under the clip.
4. Red will be in slots 1 & 5, yellow in 2 & 6, orange in 3 & 7, and white in 4 & 8.
5. Take string #2 and make a single left knot and then a single right knot with string #1. String #2 will stay in slot 2.
6. Take string #4 and make a single left knot and then a single right knot with string #3. String #4 will stay in slot 4.
7. Take string #6 and make a single left knot and then a single right knot with string #5. String #6 will stay in slot 6.
8. Take string #8 and make a single left knot and then a single right knot with string #7. String #8 will stay in slot 8.
9. Take string #2 and make a right hand double with string #3. String #2 will now be in slot 3.
10. Take string #4 and make a right hand double with string #5. String #4 will now be in slot 5.
11. Take string #6 and make a right hand double with string #7. String #6 will now be in slot 7.
12. Take string #1 and make a right hand double with string #2. String #1 will now be in slot 2.
13. Take string #3 and make a right hand double with string #4. String #3 will now be in slot 4.
14. Take string #5 and make a right hand double with string #6. String #5 will now be in slot 6.
15. Take string #7 and make a right hand double with string #8. String #7 will now be in slot 8.
16. Take string #2 and make a right hand double with string #3. String #2 will now be in slot 3.
17. Take string #4 and make a right hand double with string #5. String #4 will now be in slot 5.
18. Take string #6 and make a right hand double with string #7. String #6 will now be in slot 7.
19. Take string #1 and make a single right knot and then a single left knot with string #2. String #1 will stay in slot 1.
17. Take string #3 and make a single right knot and then a single left knot with string #4. String #3 will stay in slot 3.
18. Take string #5 and make a single right knot and then a single left knot with string #6. String #5 will stay in slot 5.
19. Take string #7 and make a single right knot and then a single left knot with string #8. String #7 will stay in slot 7.
20. Take string #3 and make a left hand double with string #2. String #3 will now be in slot 2.
21. Take string #5 and make a left hand double with string #4. String #5 will now be in slot 4.
22. Take string #7 and make a left hand double with string #6. String #7 will now be in slot 6.
23. At this point you have completed one rotation of the pattern. Repeat steps 5-22 until your bracelet is long enough to wear. Once your bracelet is the desired length take strands 1-3 in your left hand, 6-8 in your right, and braid with the remaining center strands. Tie a double knot to secure your braid and cut off the excess strands. Unclip and share your new fabulous friendship bracelet!
0 Comments
There are no comments yet. Be the first one to post one!